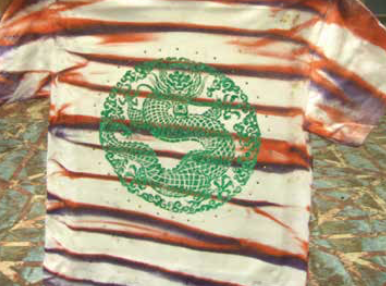
According to Charlie Taublieb, head of Taublieb Consulting, shirt treatments help in taking a simple shirt and transforming it into a unique garment. Depending on the specific shirt and techniques used, it could become a high priced garment. This article, which appears in Sign Africa Journal, shows the steps used to do that to a basic white shirt.
You can see expert Charlie Taublieb at the Textile Experience in hall 1 on the Rexx stand at the Sign Africa and FESPA Africa expo, taking place from 12-14 September at Gallagher Convention Centre. Visit this hands-on workshop where printers can learn different techniques all taught by Taublieb.
These are the basic items needed for shirt treatments: water base, penetrant, lubricant, salt and pigments. Discharge Activator (ZFS) would be needed if we were working on dark coloured garments.
Steps:
1) Pour some base into a bucket.
2) Add in salt, penetrant and lubricant to the base.
3) Shake vigorously to break down the base and make it watery.
4) Add water (400%-500%).
5) Pour into spray bottles.
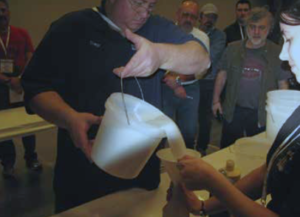
6. Add pigment and shake. You are ready to spray.
7. Lay out a shirt on a covered table. Always do the back first, then the front so it looks cleaner.
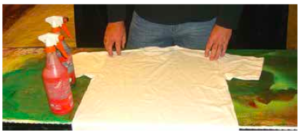
8. Pull the shirt back to create folds.
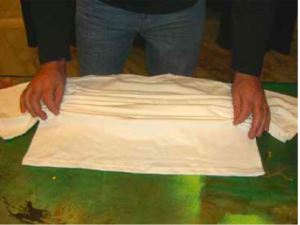
9. Holding the spray bottle low, spray pulling back on the trigger quickly with the first colour. Moving to the other side of the table, repeat the process using a different colour spray.
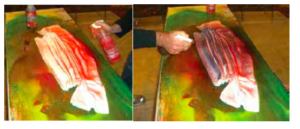
10. Repeat on the other side of the garment and send through a dryer or hang up to dry.
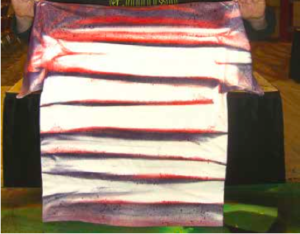
11. Load on a press and print with a bold design. Plastisol ink through a 43cm mesh at 35N/cm with a print, flash print works well.
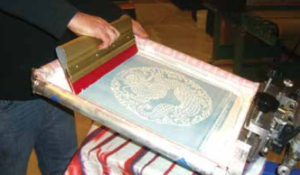
12. You can flash after the print or send it through a dryer.
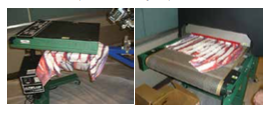
13. Put the garment on a heat transfer machine and place rhinestones wherever you think they will look good. If placing them on the ink, the foil will not stick to that design.
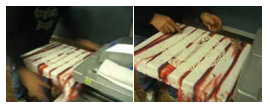
14. Cut off a piece of foil and roll it in your hands, forcing it to wrinkle. Open the foil and place over the design.
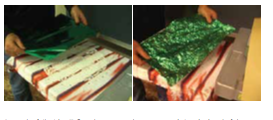
15. Cover the foil with a Teflon sheet or parchment paper, bring the head of the transfer machine down and using medium to high pressure at 168 degrees Celsius (365F) to 178 degrees Celsius (385F) degrees for 30 seconds.

16. Once done, slide your hand into the shirt to separate the adhesive from the rhinestones. Wipe with a cloth to help cool the garment.
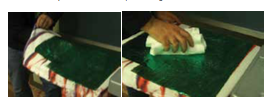
17. Putting the Teflon or parchment sheet over the design, back into the transfer machine and adding a few seconds of heat and pressure will force the foil into the ink. The foil will have a less shiny finish after this but will not wash out.

18. The wrinkled foil will texture and the rhinestones will add some bling.
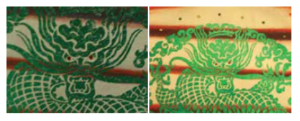
Special thanks to Ken Dennison of SupCoPrint, Fallston, Maryland and workshop attendees for their assistance.
Charlie Taublieb has been in the screen printing industry since 1976, and heads Taublieb Consulting in Greenwood Village, Colorado, a company specialising in technical screen printing consulting for textile printers. He is also Chairman of the Academy of Screen & Digital Printing Technologies.


