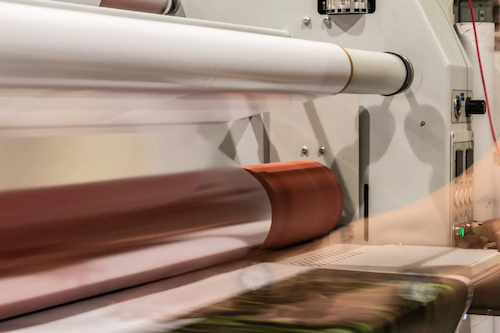
While not required in every application, lamination is one of the most widely used techniques to not only protect printed work but also add that extra special finish to make your graphics stand out to passers-by. Luigi Cristicini, Senior Technical Research and Development Manager at Drytac, has outlined how to avoid the most common mistakes in lamination.
New developments across hardware and materials have made life easier for industry professionals but there are still several issues that crop up and cause headaches for those laminating work.
One of the stand-out issues is tracking, which can be particularly troublesome when laminating long panels or a full roll of printed graphics. Usually, tracking problems are the result of bad webbing practices or an out-of-square laminator, but the good news is that there are some simple steps you can take to avoid these issues.
First, ensure the roll of printed graphics is not ‘telescoped’ – when some of the material comes out of line at the end of the roll – and that the roll is centre on the laminator machine, as well as being on the correct supply or unwind shaft.
Next, make sure the laminate is webbed correctly, with Drytac recommending technicians use a single-tape point in the middle of the core release liner to ensure the web remains tight, even in the most important areas.
Once webbed properly, load the media and feed directly through the rollers. This can then be taped to the out-feed table to maintain tension, but this should only be done while maintaining tension and pressure on the entire web. At this stage, you can attach the laminated print to a take-up core – if your machine has one – or feed the web onto an auxiliary out feed table if not.
Should you continue to have tracking issues, check the side cabinets on your laminator that hold the rollers, as they are quite possibly out of sync. Ensure they are sitting on the same plane so that you achieve a quality finish.
Another common issue is wrinkles, with these coming in various forms. ‘Lateral wrinkles’ are when the media will try to correct itself but instead the laminate will move and fold over on itself. Check for telescoping, as this is the most common culprit for these wrinkles.
Also keep an eye out for ‘vertical wrinkles’, which occur in the direction of the feed due to too much brake tension and the release liner splitting too high on the rollers. This should again be a relatively easy fix, with printers simply having to reduce both the brake on the supply shaft and the clutch, lowering the overall speed.
You may also encounter ‘D-wave wrinkles’, which are caused by excessive pinch point pressure. To fix this, simply back off on the roller pressure and the issue should disappear immediately.
Aside from this, technicians may see ‘left or right-side wrinkles’, which can happen when the pinch point is uneven on one side of the laminator. Each laminator has different settings, so check your manual to see how to reset the parallelism on the machine.
Finally, ‘angled wrinkles’, also known as ‘boat waking’, could crop up when pressure on the rollers is too low – something that is very common on laminators with crowned rollers – but finding the right pressure point will solve this issue. These wrinkles may also be caused by using mismatched widths of laminate and printed media. Always try to match widths within a few centimetres or inches to avoid this.
While there are several issues you are likely to encounter when using a laminator, the good news is that all have a relatively simple way of being fixed or even avoided in the first place.
MIDCOMP
+27 10 020 9999
consumables@midcomp.co.za
www.midcomp.co.za


